Ever since my first set of stormtrooper armor, I’ve always enjoyed the process of building costumes: assembling the various parts, figuring out the right fit, and getting the right look to match whatever’s on screen.
In recent years, I’ve been building smaller costumes for Bram. In 2016, I built a Stormtrooper costume for him out of a large toy, and the next year, Link’s Hylian outfit from Legend of Zelda: Breath of the Wild. When The Mandalorian hit Disney+ last year and unveiled The Child (aka Grogu, aka Baby Yoda) and Bram fell in love with him, I realized exactly the costume that we’d be building towards for 2020.
This sort of costume is deceptively complicated. There are a lot of parts that go into it: not just the armor, but the undersuit, the gloves, the helmet, accessories, boots, leather belt and so forth.
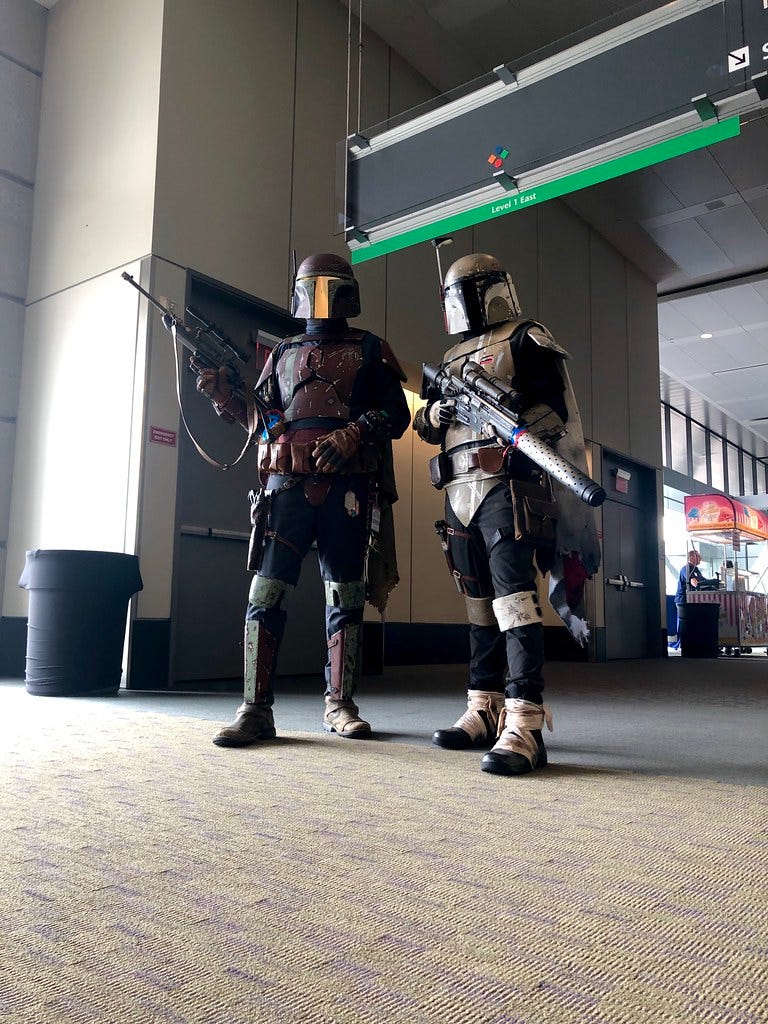
There are a lot of approaches to building a good-looking costume, and there’s no right or wrong way to put one together. A Mandalorian costume is one that can easily be made with cardboard, EVA foam, scrap plastic, metal, and any other materials — the acceptable level of accuracy is in the eye of the beholder. My personal preference is to work quickly and to get something done so that it looks good, but not necessarily 100 percent screen accurate — especially for a costume for a child.
Related: Star Wars inspired Mandalorian fans, then Mandalorian fans inspired Star Wars
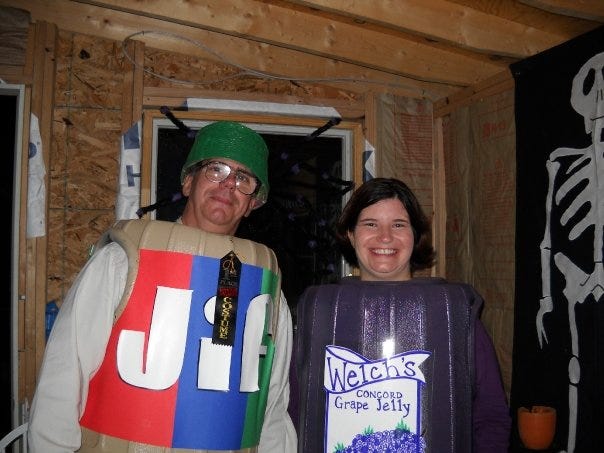
But one of the things that I think is important that makes a costume stand apart — even if you’re doing it quickly — is getting some of the little details right. The markings on a trooper, minute bits of weathering, or even something silly like a barcode on a jar of jelly.
My aunt Mary and uncle Jim from 2009. I think about their costumes quite a bit as an example of where details really can make the difference: they’re trash cans that they turned over. I had been visiting them and suggested that they not only needed the labels, but to put on a bar code on the back — because that’s what the actual jar would have. It won them a costume contest.
So, while I wasn’t going to do something super-screen-accurate for Bram, I did want to wow people with it, and to make something that he was happy with.
In many ways, every costume is the product of a group effort, even if someone builds something on their own. A cosplayer might dip into reference pictures that someone took, ask for advice on a forum or from another cosplayer, or might buy or acquire 3D models, parts, or other components from specialists who make them. That’s the case for this costume: a lot of people helped out.
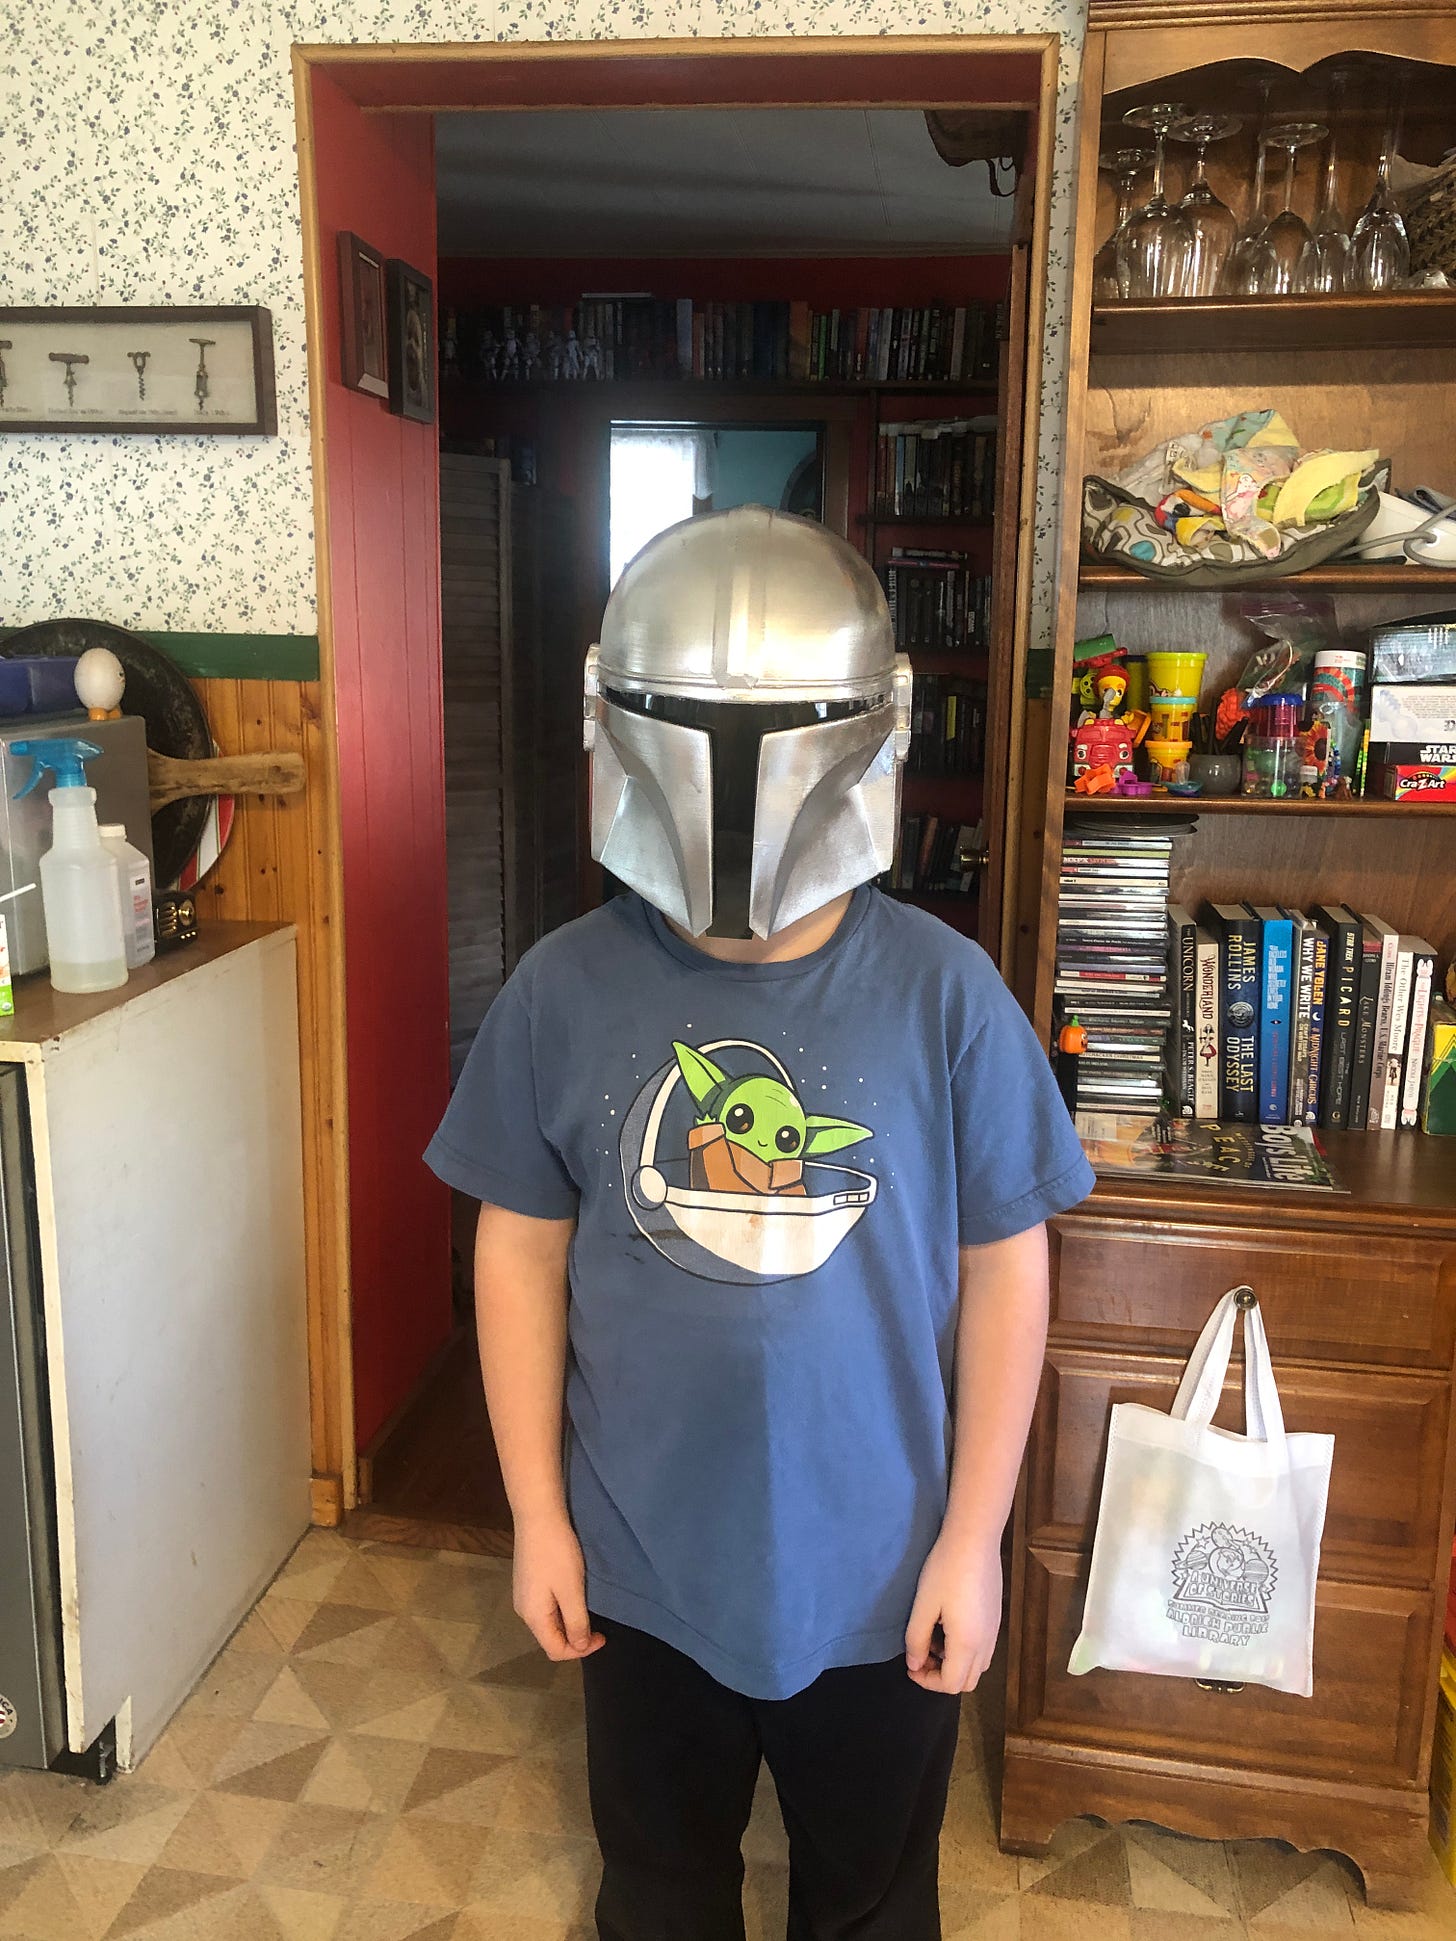
The first component I acquired was the helmet. A friend of mine, Amie Dansby (of Lego Masters fame!) is a 3D printing wiz, and printed me up a helmet earlier in the year, something that I’d planned on using for myself at some point. While it’s a little bigger for Bram, padding it made it sit nicely on his head (and a slightly too-large helmet doesn’t look quite as noticeable when you have the rest of the armor on, I’ve found.)
The armor itself was also the product of a larger group effort. I’d planned on creating each piece myself out of a stack of EVA foam floormats that I had kicking around, and even started to carve one out earlier in the year. But I realized something as fall crept up: the Mandalorian costume group that I was a part of that has literally thousands of members, many of which are printing up their own armor. Some subset must have printed out parts that were too small for them, right?
It turns out that that was absolutely the case: I posted up asking if anyone had parts that they weren’t going to use, and hit the jackpot: one member, Elias Chun from Singapore, had printed out most of the parts that he needed, just a bit too short. He told me that he was just over five feet tall, and I figured that if he printed it too small, it would be just about the right size for Bram. He offered to pack up the armor and send it to me just for the price of shipping. The parts that he hadn’t printed out were easy to replace: Thingiverse has plenty of free models that people have uploaded, and a fellow Green Mountain Squad member, Patrick Ormiston, kindly printed them up for me.
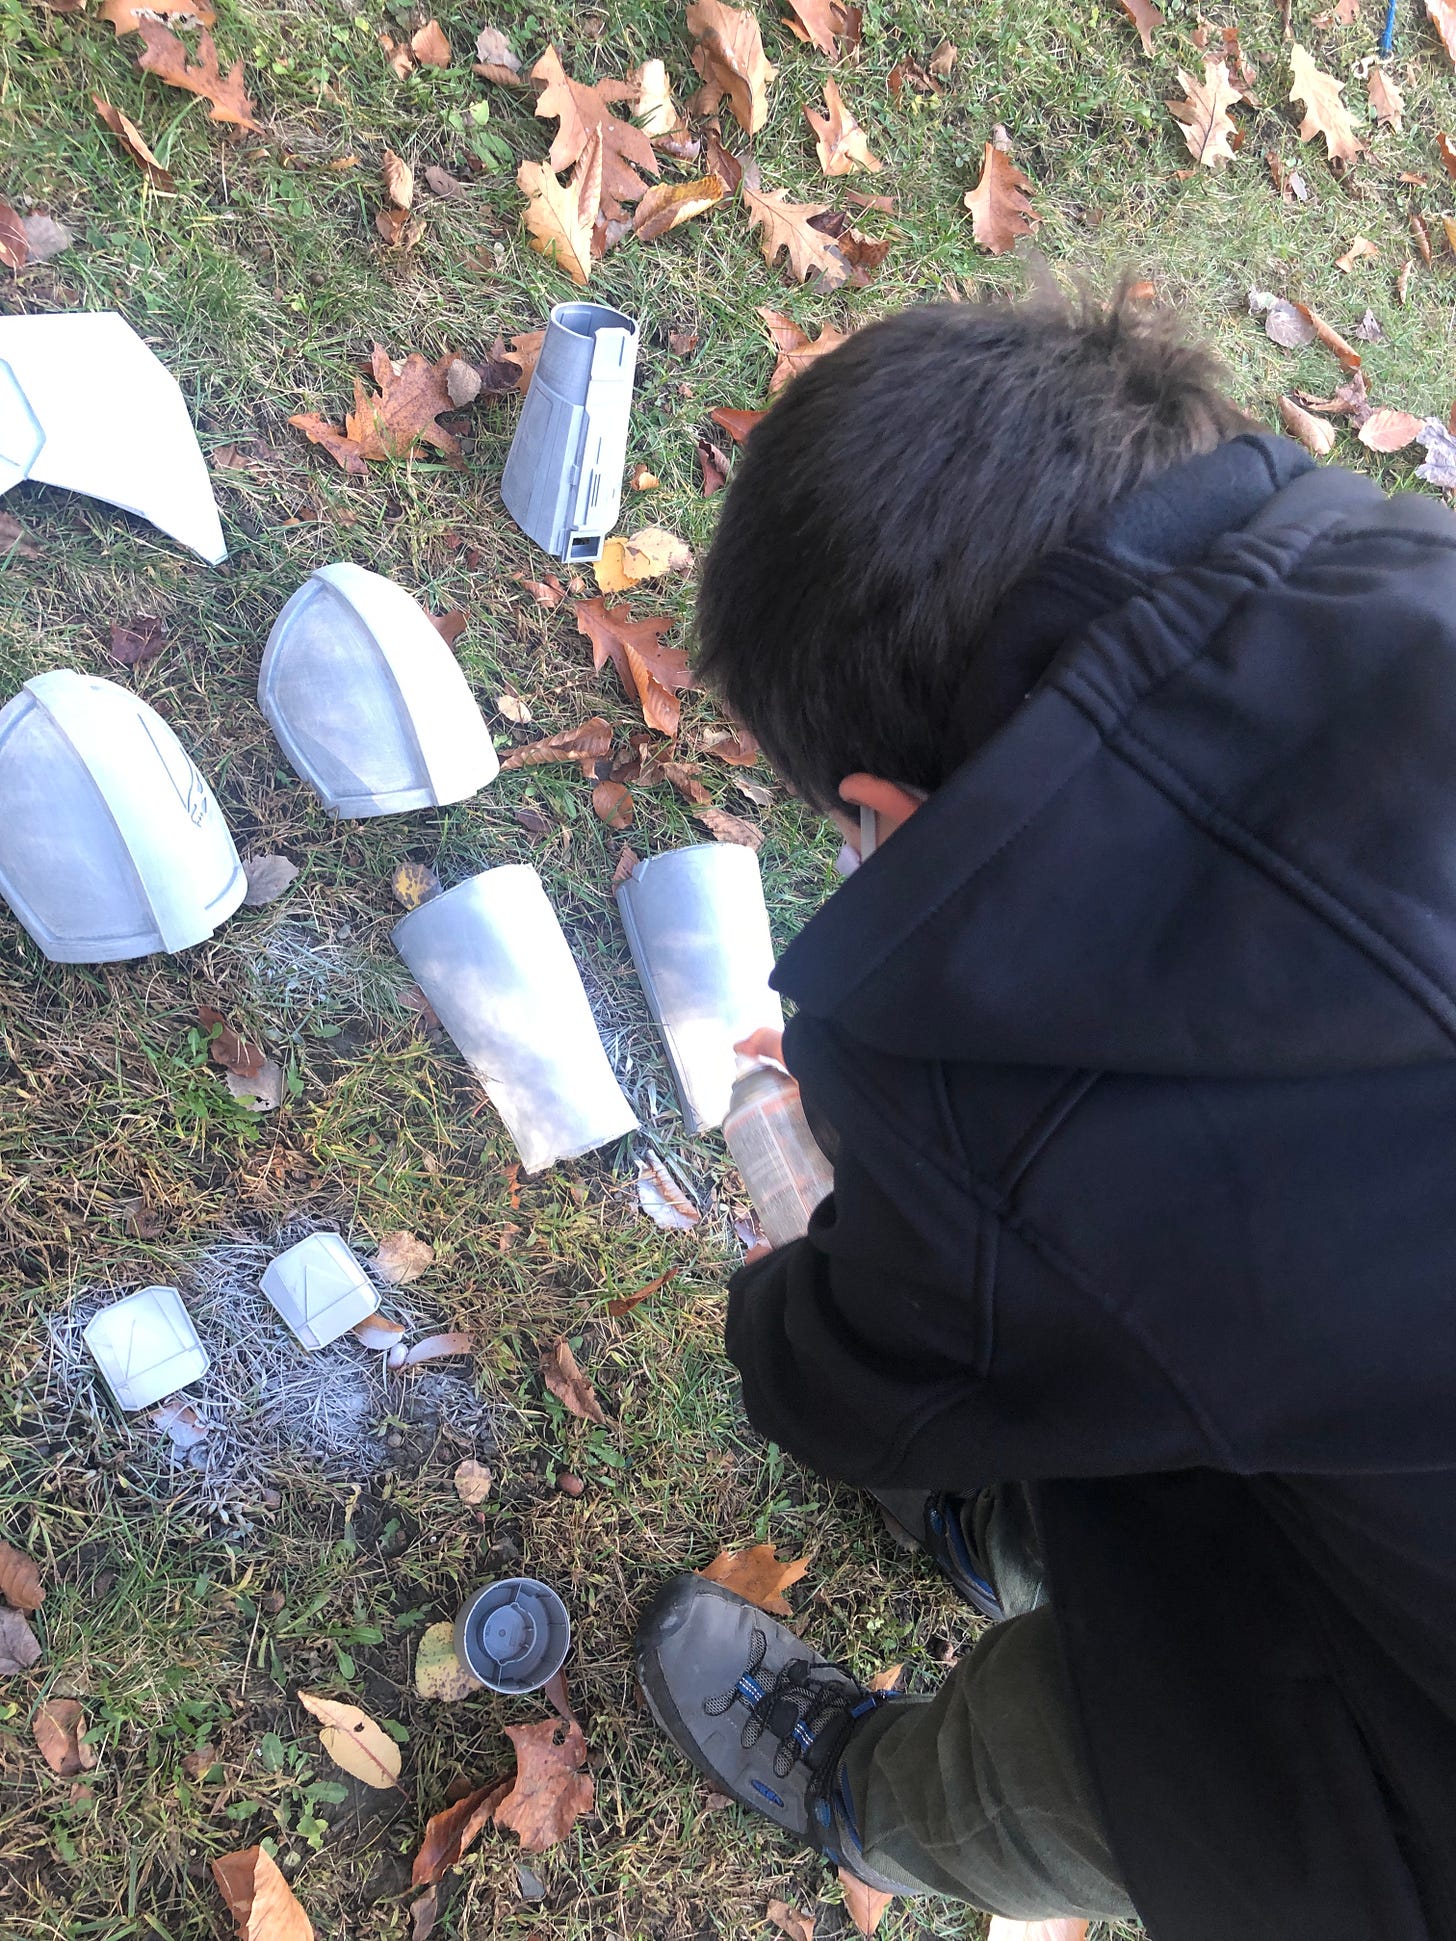
Once the armor was in hand, we had to process it. 3D printing leaves print lines where each layer of plastic is fused together. It’s not a terribly strong plastic — it has to be melted (keep them away from radiators or other heat sources), and as a result, they’re easy to sand down. I took sandpaper to each of the parts, starting with a coarse, 80-grit paper and worked my way up to a finer 200-grit paper. They weren’t 100 percent smooth by the end, but it was good enough for this costume.
After that, we laid down a couple of layers of primer and then silver paint to get them to the right-ish color. We painted the handplates a different color, and made the shins out of leftover vinyl and EVA foam and painted them brown. After that, we worked out how to strap it on: elastic straps with velcro helped with the thighs, and the shoulders and chest parts used snaps.
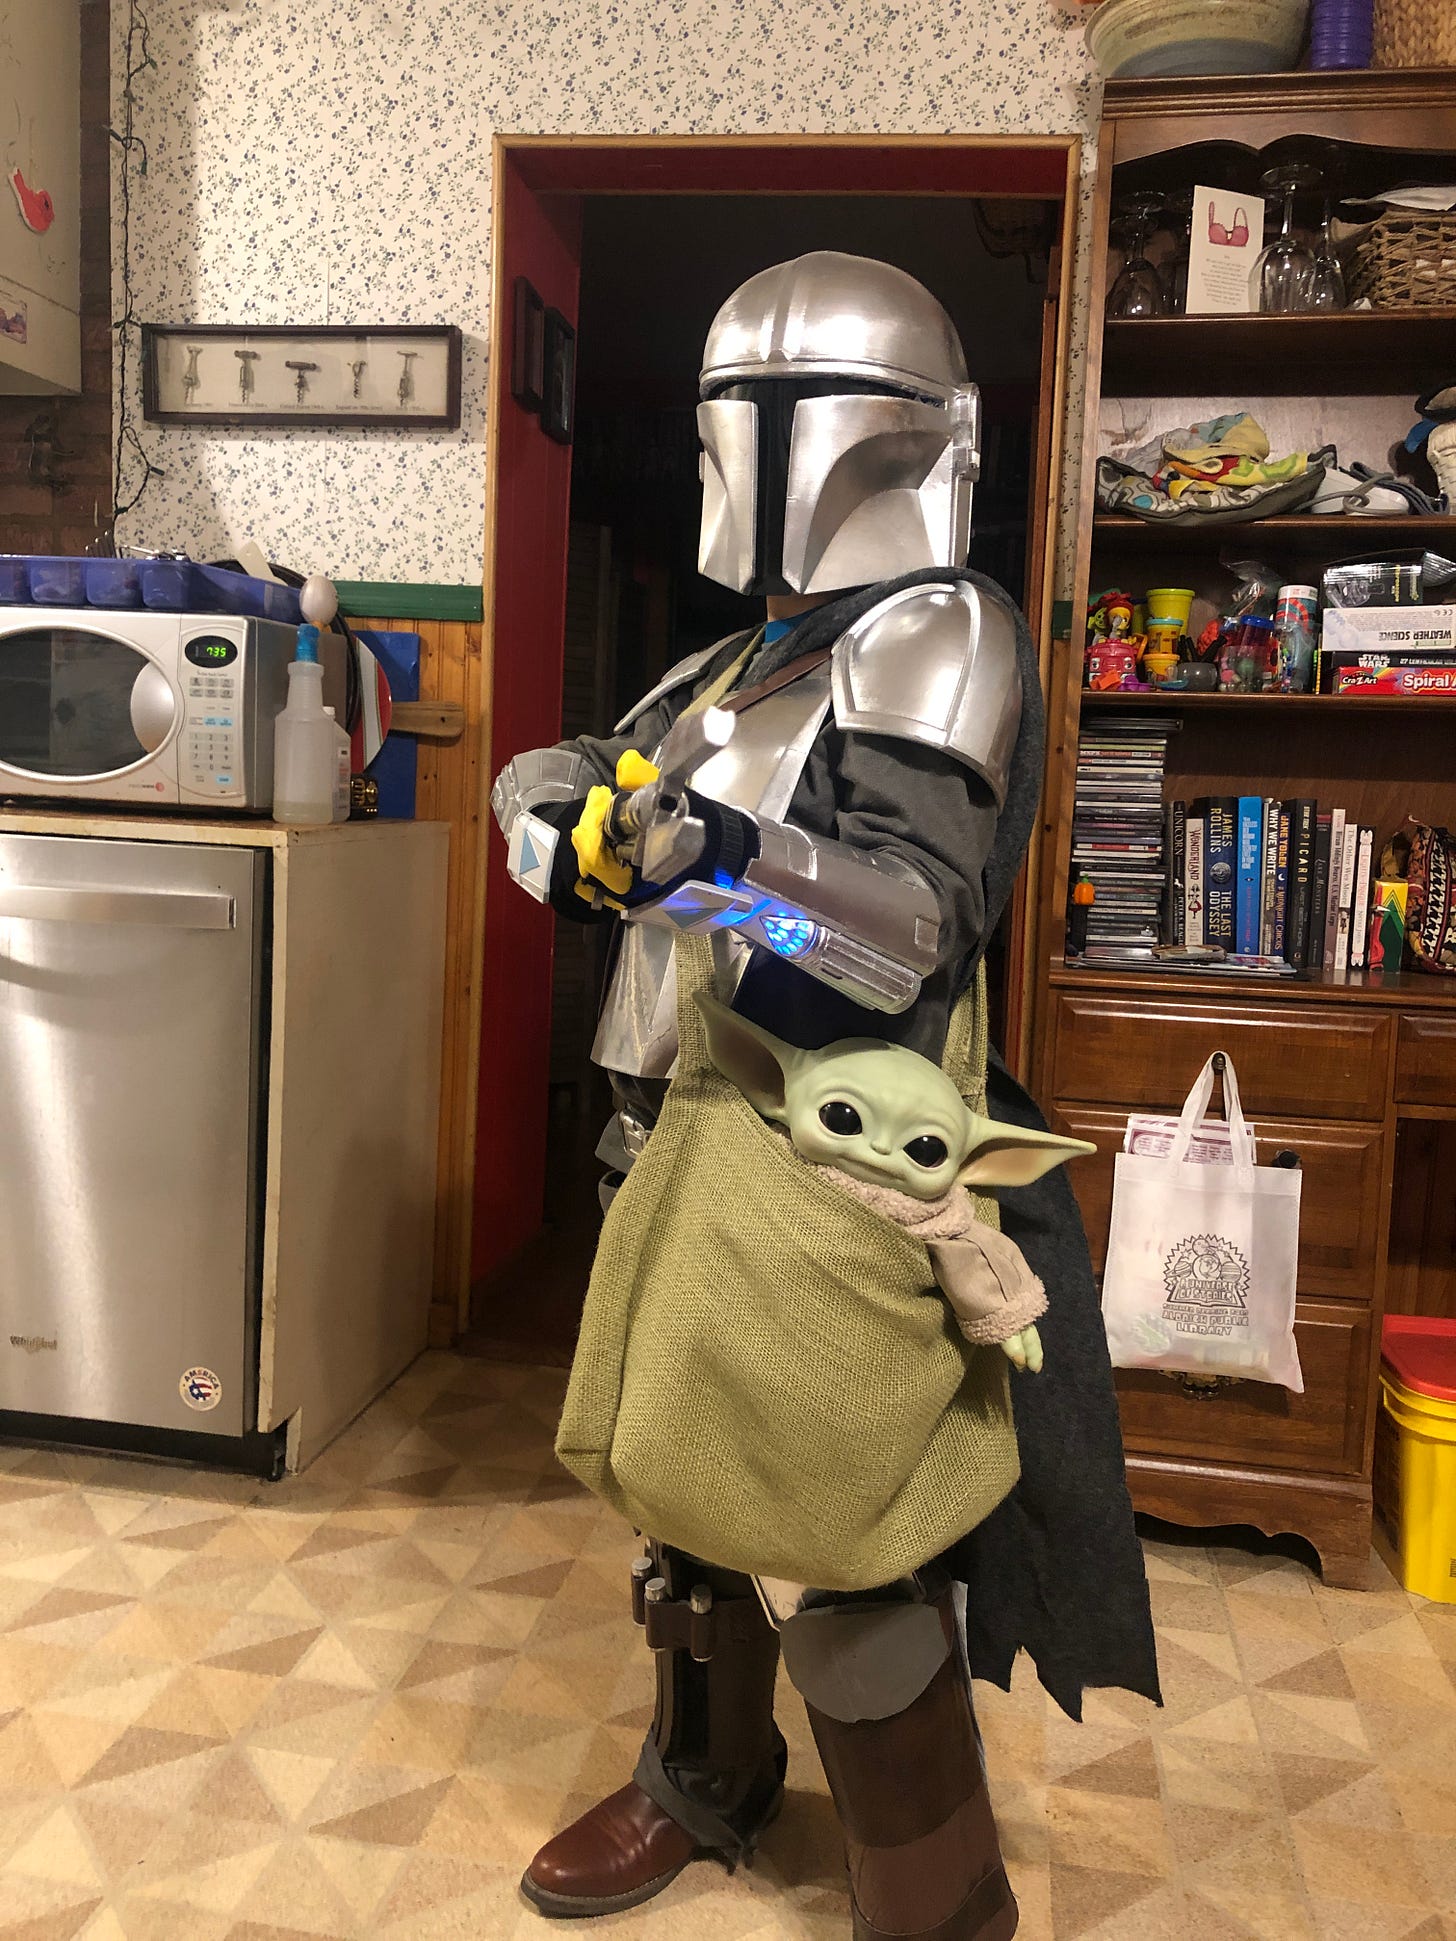
One of the details I’m most proud of is the arm rockets. In the series, they’re blue when activated, and the arm that came with the suit had a space for a costumer to install their own electronics. Fortunately, it was also the size of a small flashlight. I colored the lens blue with a marker, and glued it into the slot. When turned on, you get the same effect, something that delighted Bram to no end.
The armor is only one part of the costume: the other part is the undersuit. After finding some suitably grey fabric at the store, I had my mother sew up some pants and a shirt. A yard or two of black felt-ish cloth served as the cape. The fabric was strong and durable, so we attached snaps directly to the shoulders and chest, allowing me to pin the armor and cape directly to the shirt. I like using snaps for this sort of thing, because they tend to hold on really nicely, as opposed to Velcro, which can come off with repeated use. They’re also easier to install — you just need a hole and a hammer.
For the shoes, I found a cheap pair of kids Chelsea boots that looked a bit like what the character wears — they can also be used outside of the costume.
For the belt and bandolier, I used more brown vinyl. I didn’t have time to add on the accessories that he carries on his belt, like the ammo cartridges (Although I did add them to the shin) and bombs, but I did have a spare clip that I painted silver. This required lots of hot glue to assemble: it was quick, and served its purpose: decoration, rather than bearing any load. At the last minute, I added a bit of grey vinyl that I had kicking around for the stomach — that velcroed directly to the chest armor, and was held in place by the belt.
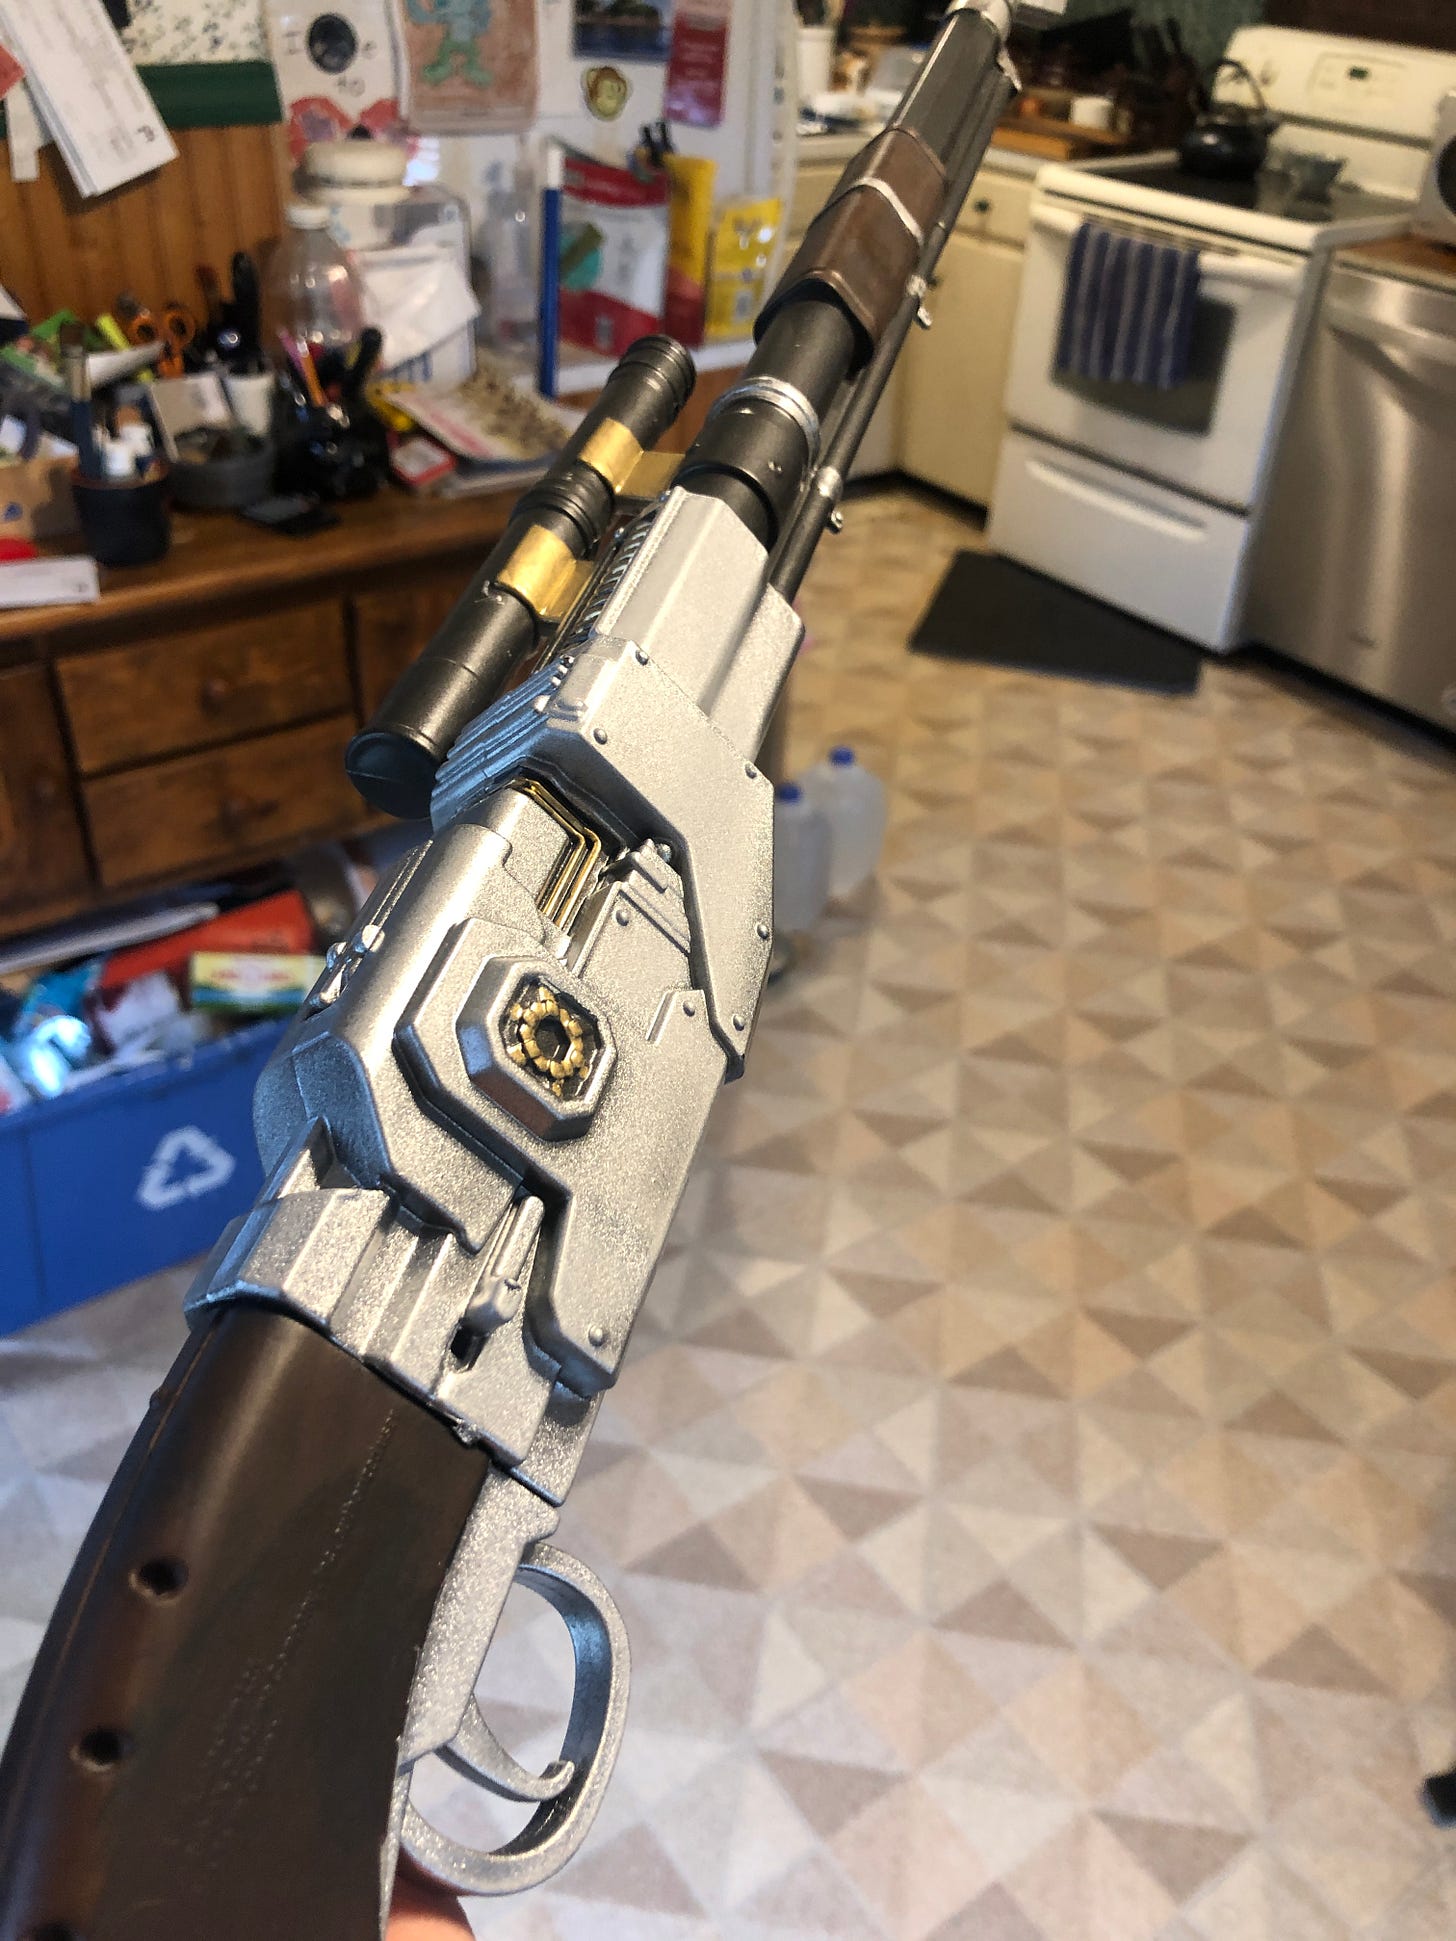
The other major component was the blaster rifle that the character carries. This was a bit of a trickier thing: do I fashion something out of dowels? As it turned out, the costume company Rubies sold their own version: a white and orange gun that was nicely detailed and well-proportioned for a kid.
The colors were obviously wrong, but that’s easily fixable: several cans of spray paint would do the trick. I started off with a coat of primer, then taped off various sections for different colors. I sprayed the butt of the gun brown, then the rest with a nice gunmetal grey. The prongs and grip got another layer of silver paint, and with some careful taping, I added on the gold detailing. Once that was all on, it got a goat of weathering to make it look a bit used.
This wasn’t something that we’d take out in public — but it was a nice addition for him to play with, and makes for an essential part for some final pictures.
Last but not least as the most important part of the costume: the Child! The early season 2 pictures showed that Din Djarin was carrying the little guy in a pouch. I picked up some burlap at the fabric store and showed the picture to my mother, who whipped up a small shoulder bag, something that Bram’s toy would fit into.
The costume looked great, and most importantly, it was comfortable for Bram to wear for an extended period of time. Unlike a stormtrooper, it wasn’t pinching or otherwise uncomfortable or him, and he enjoyed wearing it. It also largely held together well: he could run in it without losing parts.
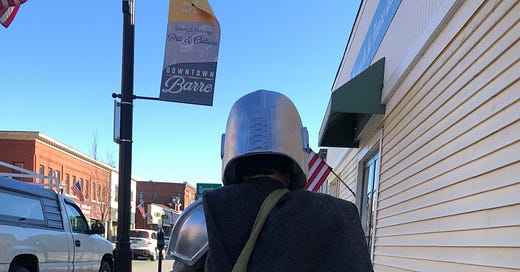
Halloween this year has been … problematic, but while trick or treating downtown was canceled, some businesses were doing their own giveaways. We ended up stopping down at the local cat cafe, which was doing a contest (which I don’t think ever announced the winners), and a local car dealership. While walking down the street, he made an incredible impression: cars stopped, and one person yelled out of their window: “MANDO!”
Ultimately, it was a fun project, and a needed diversion in a year where I haven't felt all that interested in building costumes — my workshop is in desperate need of a cleaning, and I just haven’t been able to get the time and mental energy to take that particular project on. This was just the thing, and I’m already eager to see what Bram will be interested in suiting up as next year.
Thanks for reading! Now that we’re into December, I have a small list of things to write up for this newsletter: a bunch of end-of-the-year things, as well as a couple of longish pieces that I want to write up. Stay tuned for those!
One thing that I’d like to ask of you: I talk a lot about the books that I read and enjoy: I’d like to hear from you about your favorites. I’m thinking that I’d like to round up some of those recommendations and include those in a future installment before the year is out.
Thanks!
Andrew





Just got to read this-awesome dad you are!